DIY — Repainting a Metal Fence in San Antonio, Texas
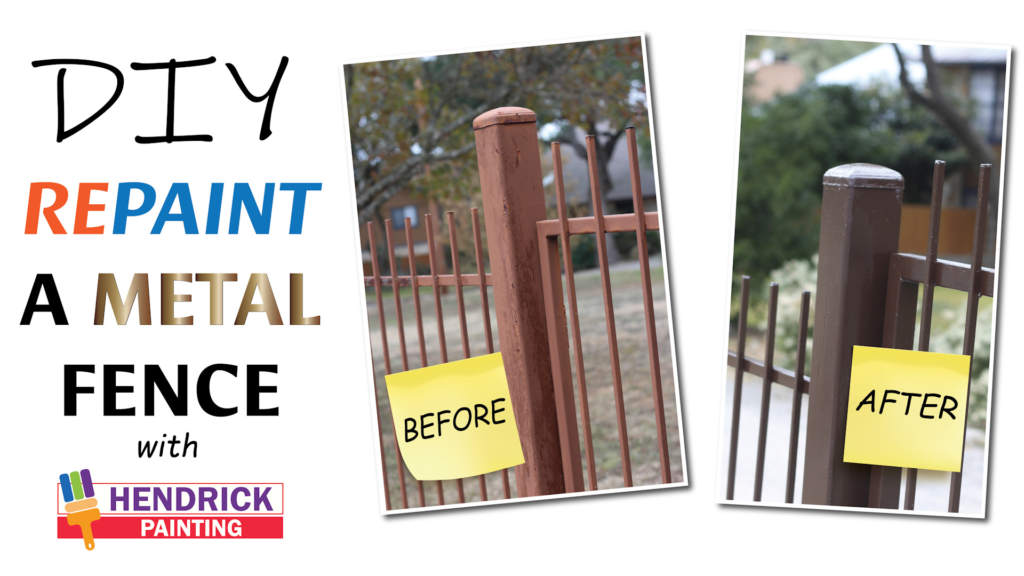
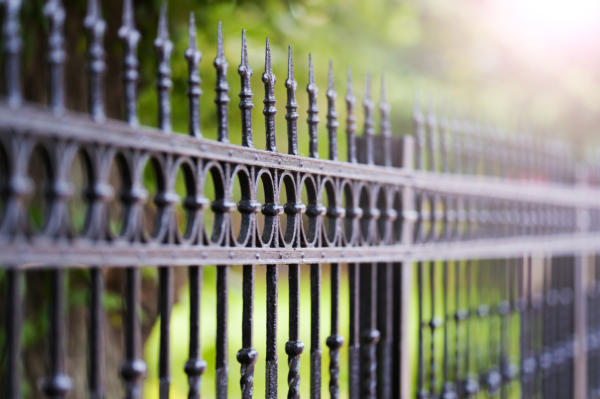
A metal fence, particularly wrought iron fencing, is a popular choice for both commercial and residential fencing applications for its aesthetic value, enduring strength, low maintenance, and intrinsic value to a property. They can complement virtually any architectural style and decor. Unfortunately, wrought iron does rust eventually and when it does, especially if your fence is elaborately ornate, it can become a real eyesore. In San Antonio, our weather can be harsh at times, so knowing how to deal with rust is an absolute must. (Ha ha, I didn’t mean for it to rhyme, but it works)
Thankfully, a simple paint job every several years can help preserve the beauty of your fence and protect your investment. Deciding whether to do this yourself or to hire a painter is really a matter of understanding all that is involved and if your schedule will support the time needed.
As we have in past blog posts, we will take you through the steps involved in preparing to paint, the materials you will need, the techniques required and practical tips to do this job yourself.
MATERIALS NEEDED
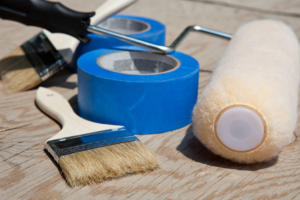
Without further ado, let’s begin with the materials that you will need. Like most painting jobs you will need masking materials to protect your property and landscape features. In this case, how much masking materials will be determined by your technique of choice. Spray and brush, or Roller and Brush. If you choose to spray, there will be a need for more masking materials to prevent overspray. Whereas, the choice to use rollers and brushes will isolate the need for masking to only the immediate area where you are working.
YOU WILL NEED TO DECIDE WHETHER OR NOT TO USE A SPRAYER
While spray may require more preparation to execute properly, the benefit here is that the coverage is typically more consistent with fewer risks of drip runs. The choice to spray is also impacted by the budget that you have set for the project. Unless you own a sprayer, one will need to be rented and that will add to the overall cost. A sprayer can be rented from $40 to $120 a day. There is also typically a 25% loss of paint when using a sprayer. So you might wonder, why would you opt to use a sprayer? If you are painting a larger area, over 200 linear feet, and you have a second person who will be helping you, you can cover a larger area more quickly with a sprayer.
If you are working alone, the practicality and cost of the sprayer make it a very difficult method to suggest. For most homes, brushes and rollers are all you will need. So to simplify this guide, we will focus on just the brush and roll method.
You will need the following materials:
- Gloves, dipped gloves are great
- Sanding sponges
- Rigid Bristle Steel Brush (try to get one with a scraper)
- Lint-Free Paper Towels
- Steel Wool
- Heavy drop cloth or Tarp (metal shavings can get embedded in cloth, so tarp might be a better choice if you plan to reuse the dropcloth in the future); cardboard can work too
- Either of two systems works quite well
- Sherwin-Williams Kem Kromik Universal Metal Primer and Pro Industrial DTM Acrylic for the finish coat
- PPG Ameron Amercoat 185 H for primer and PPG Ameron PSX 1001 for the finish coat
- update 2022 due to paint supply chain issues, it should be said that alternatively, any spray primer from Krylon or Rustoleum would also be fine. Also, in our experience, Benjamin Moore Ultra Spec DTM Arcylic Enamel makes for great top coat that is easy to apply.
- Ladder if needed
- Mineral Spirits (for removing rust residue)
- Purdy XL series brushes are an excellent choice with a variety of sizes and designed for use with oil and water-based primers/sealers
HOW TO DO IT
Step1
The first step, as was alluded to, is paint protection and masking. Position your drop cloths under the area where you will be painting and tape down paper or plastic on vertical surfaces that need protection.
Step2
Next, we remove loose and chipped paint. On flat surfaces use your metal scraper. On the curved sections or corners and grooves, use the rigid steel brush. After you do this there will be a lot of rust residue. You can remove this using mineral spirits. Then use the lint-free paper towels to absorb and wipe the metal clean. You don’t want the mineral spirits to react with your primer though, so once you are satisfied with the cleaning, you will need to rinse the fence with water thoroughly. Then, allow it to dry completely.
This step is the most time consuming, but it is the most crucial step, so take your time and do it right.
Step3
Apply the primer you chose earlier. Use the roller for flat surfaces and the brushes on the tighter corners and any curved details. DO NOT overload your brush with primer. This will cause drip runs. Instead, just dip the tip of your brush in the primer. This may take longer since you will need to load your brush more frequently, but it will leave a much nicer finish. Go nice and smooth, this does not need to be a heavy coat (also these primers are usually a little thinner than people expect). Allow the primer to dry according to product specifications. Check again to see if any spots were missed and re-prime if needed.
Step4
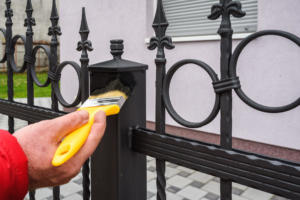 Now to apply your topcoat. Use the same method again. Remember, smooth is best, don’t go too heavy. It is better to touch up your second top coat after drying, then to apply the first topcoat to heavy and risk ruining your finish. For best results, you should apply a second coat anyway, so any small mistakes can be touched up then.
Step5
In the week that follows, keep an eye out for any faded spots or scratches. Immediately address these areas when identified, by applying primer first and then topcoat to the affected areas(allowing appropriate drying times). This will protect your paint job and prevent rust damage.
That’s it! It isn’t a complicated job, but as you can see, it takes a lot of time and patience. So, if you are up for the challenge we are confident you will be happy with the results! If you feel that you would rather have a professional handle the job, we would be happy to meet at a time and day that is convenient for you to prepare an estimate.