How Much Does It Cost To Paint a Kitchen in San Antonio, Texas?
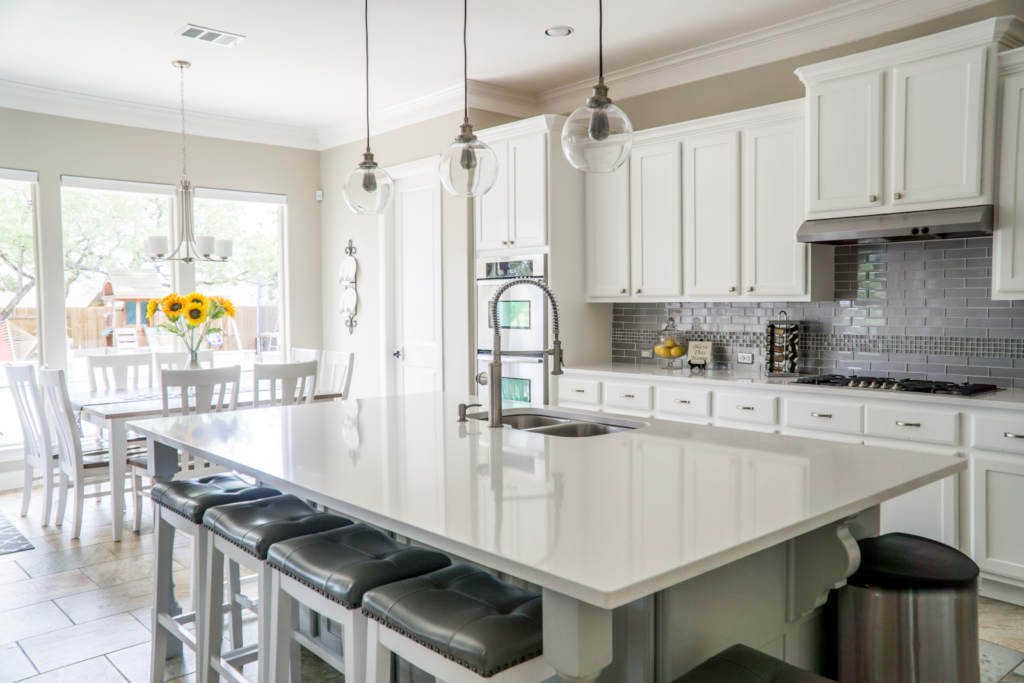
BEFORE BEGINNING ANY household project in San Antonio or wherever you may live, most people do a little digging to determine what they are getting themselves into. When preparing to paint your kitchen, likely the title of this article is the first question that comes to mind. Typically, what is of primary concern is:
-
What will it cost?
-
What is involved in paying someone versus doing it myself?
-
And lastly, is there anything that I should know about before I commit to this project that could affect my plans?
These are important questions, especially determining the cost, so that we can know whether we have enough funds to get started or if we will need to save money in advance. This article will answer each of these questions. We will examine not just the overall cost, but what goes into it, both from a DIY and contractor’s perspective. We will consider the pros and cons of painting or staining your cabinets, how to determine choice of materials, and why the location where you live plays a factor.
Doing the Work Yourself
This is a great place to start your research because even if you decide to hire someone to paint your kitchen, you will have educated yourself about the materials available and their features, the preparation involved to clean and protect your property, the front-end cost for materials and supplies and the time needed to do the work. Such knowledge will not only help you to better evaluate any prospective contractors, it will actually make it easier for you understand any options they may present to you.
So let’s look at each stage of the project, the cost for supplies and materials for each, and how to determine the time that will be needed.
Preparing the Property – Cleaning and Protecting
The first thing that we need to do is to prepare the kitchen. That means removing everything in the cabinets and packing them away safely as well as any appliances that sit on countertops. Obviously, this is a step you need to do personally whether you do the work yourself or hire someone. (For some great suggestions on how to do this safely, check out the UnPakt Blog article, “Best 5 Ways to Pack Dishes During a Move“)
Painting your kitchen means taking a vital room completely off-line. Plan ahead: Set up a kitchen in a nearby room with a microwave, a toaster oven, and a cooler to serve as a fridge during the project. Oh, and use paper plates.
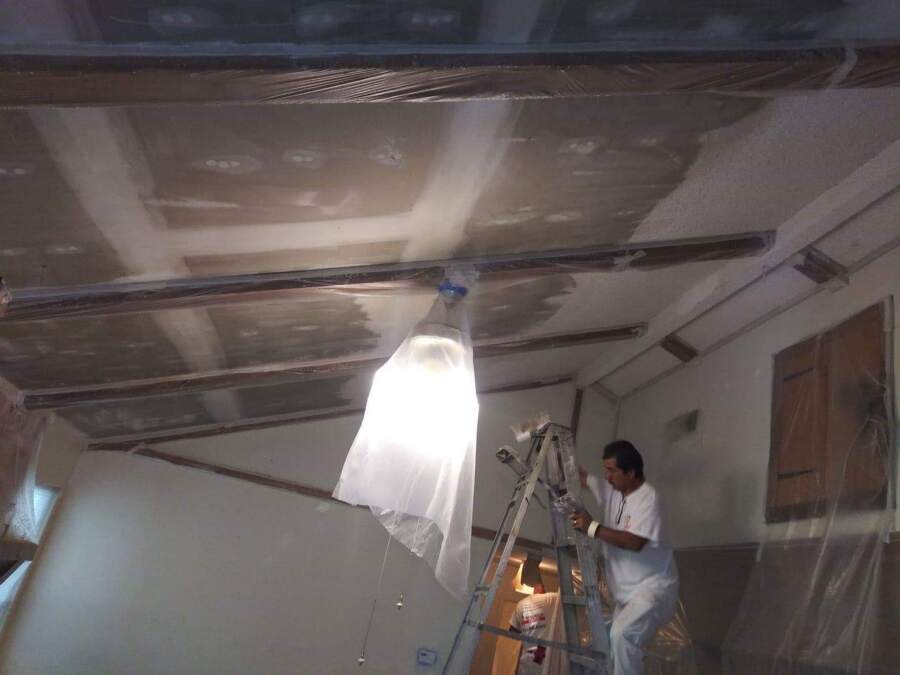
Once you have gutted your kitchen, steps need to be taken to protect your furniture, light fixtures, windows, large appliances, countertops, and floors. While there are a variety of ways to do this, you will likely need at the very least a drop cloth and painter’s tape. Whether you use canvas, synthetic material or plastic sheeting the prices will range from around $10 to $20 per item. There are some pros and cons to each material, HouseLogic.com has an article that briefly explains what these are. Most professionals use a combination of these materials for different applications. How much of each you would need to buy would be determined by the square foot area of your kitchen and how many people will be working at the same time.
If you are staining or painting the cabinets, you will also need another location that is equally protected for painting doors and drawer faces and for drying.
Painter’s tape will cost roughly $5 to 9$ for 60 yards depending on the width of the tape and the brand.
You will also need to dust and clean the walls and other surfaces that will be painted before adding a primer. For most surfaces, use a towel or a vacuum cleaner. When painting a bathroom or kitchen, wash the walls with a solution of approximately three teaspoons of laundry detergent to one gallon of water using a bucket and microfiber cloth. Scrape any cracked or flaking paint with a paint scraper (approx $5).
Tape should be applied after cleaning and allowing surfaces to dry. Tape the edges of anything that you do not want to be painted, such as windows, door knobs, baseboard (which may get a different color), light switches, thermostat, etc.
If cabinets are being painted, all doors and drawer faces need to be removed and hardware removed from them.
Time Needed: Factoring in all the above details apart from packing the dishes and appliances, even a small kitchen can take a few hours to clean and prep before painting. If it is a large kitchen it could take several hours, quite likely a full day’s work if doing it alone. If you are only painting the walls and not the cabinets this could reduce the time and cost tremendously. — PRO TIP: Cleaning and preparation, is often the most time-consuming aspect of any paint job. However, it is also vital if you want beautiful, long-lasting results.
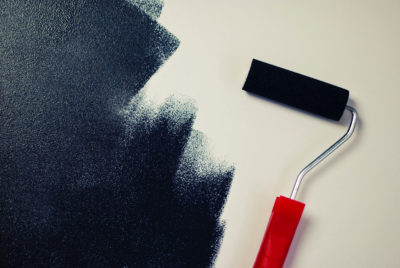
Applying Primer – Base Layer of Paint
Any surface that will be painted, once cleaned and dry, needs to be primed. However, if you are painting cabinets you may need another step before this. We will come back to that later. Why is it best to apply a primer, even if the color change is not dramatic? Well, in this case you are painting a kitchen. When you cook, fat and oil molecules carry through the air and when they land on your walls they can create a residue and even stain. Smoke, water and grease can all leave stains that remain even after our cleaning. These stains can actually bleed through the finish coat and reappear, making all the effort and expense to cover them up useless. For this reason, a stain-blocking primer is recommended if you are covering up stains or imperfections. Additionally, any primer will help the paint to have better adhesion to the surface, provide additional protection and it is far cheaper than doing multiple coats with a higher quality color paint. Primer can cost can cost between $20 – $40 per gal, but is also available at a better value in 5 gal buckets from $50 – $100.
Before priming, patch any holes or imperfections in the wall and lightly sand to smooth it out. Use a microfiber cloth to remove any dust.
Whether you use latex or oil based primer will depend on the situation. Latex is your cheaper all-around choice and oil based is a little more expensive but may be better if you are covering dark stains or are opting for a lighter color. Apply primer with a brush or roller just as you would any paint. Now you have come to the most important part of this step. Let the primer DRY completely! Make sure the primer is dry to the touch in several locations first. Latex primer can dry between 30 mins to an hour. Oil based primer can take sometimes take up to 3 hours. In either case, conditions including heat and humidity can play a factor, so it is important that you wait until it is dry before you continue. If not, your paint may not adhere properly or your stains may still come through.
Painting the Kitchen
At this point, it is assumed you have taped all necessary areas that need protection and have already primed the walls. The paint will cost between $25 to $50 per gallon or more depending on the brand and quality of paint your purchase. If you do two coats, you will also need to purchase twice the paint. Pay attention:
This is your biggest variable of the entire project and your choice can save you money whether you DIY or hire a professional.
Determining the amount of paint needed is generally based on square feet. Use the Sherwin Williams Paint Calculator to determine the amount of paint you will need. Remember, you will need to also measure the exterior and interior of the cabinets (if you will be painting the inside of the cabinets). The “Custom Calculation” can help you be more precise.
There are two pro phrases to keep in mind while painting: “cutting in” and “wet edge.”
Cutting in is when you use a brush first to paint the top and bottom areas of your wall along with the trim from left to right (or in reverse, if you’d like). Then go back in with a roller to fill the wall space between, from top to bottom. Work in small, four-foot sections of the wall.
During this process, you want to keep a wet edge, meaning the cut in sections of paint stay wet and don’t dry before you go back in vertically with your roller (hence working in manageable four-foot sections). If the cut in paint dries before the rest of the wall is done, you’ll see those sections through the rest of the paint.
Many painters paint in a W pattern with the roller to prevent visible lines after drying.
For painting the cabinets, see this step-by-step video from Lowe’s Home Improvement. It repeats some of the steps we mentioned earlier and is very easy to follow. For an average cabinet set, assume at least 24 hours of labor.
Do I need to paint my cabinets, or should I stain them?
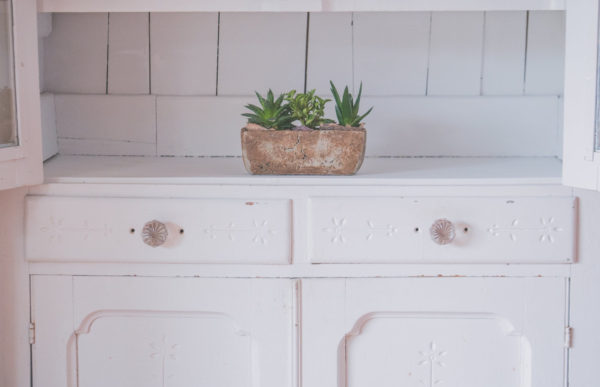
If your cabinets are scratched or have dings to the point of needing filler repair, then painting would be your option rather than refinishing as painting would be needed to hide the filler. Dings and scratches are not a problem to fix when painting cabinets. When refinishing, fillers are not used. Stain will cost about the same as paint per gallon.
If you have stained cabinets and you try to restain the cabinets, you can never go lighter. They always have to go darker. And then they will always be blotchy because the stain soaks into the wood cabinet’s pores.
When you restain wood, you need to sand it down, but you can never sand it down to completely remove the stain because it would cost so much in labor (unless you have a lot of time to DIY) that you’d be better off purchasing new cabinets. Therefore, blotches will occur because new stain fills in heavier in some pores but not as much in others.
However, if they are new unfinished cabinets, have a lighter color stain and have no major repairs needed, it may be good to go with a stain. It really is a matter of preference. Paint, when done right, can last for around 10 years. Stain can last a bit longer but comes with the considerations we just mentioned.
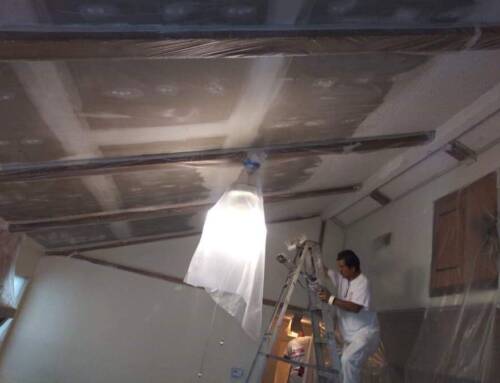
Hiring a Painting Contractor to do the Work
Materials and Time vs. Time and Experience
If you choose to do the work yourself it will be a huge investment of your time and you will undoubtedly have higher material costs as you will need rollers, pans, brushes, ladder/s and the other supplies mentioned earlier. These and other materials a painter already has, and since it is their profession, it is a better investment for them to have higher quality materials. Also, as an amateur, even having educated yourself about the process, you can still make costly mistakes or even damage your property. There is no substitute for experience. But, you can save a lot of money on labor costs. So the question is, do you have enough time, and can you afford any mistakes?
If you choose to hire a professional it will save you a tremendous amount of time and they have the benefit of experience doing the job. Contractors also have insurance, so they are already prepared to pay for the mistakes, as these sometimes come with the job. It will, of course, cost you in labor. What it cost to hire a painter, has as much to do with where you live as it does with who you hire. Just like buying groceries, paying rent and almost anything else, you will pay more in a big city and a little less further out. If you do live in a city, neighborhoods with larger, more expensive homes and thus larger more elaborate kitchens will also be more expensive to paint.
In conclusion, like any DIY project, TIME is the biggest factor. If you have the time, it can be great savings and you get to learn a new skill! If you have other rooms around the house that need to be painted, painting a kitchen is the best project to cut your teeth on. The experience you gain will help you to do a better job on the next paint project in your home. However, if you really don’t have the time and you can’t afford to absorb the cost of any mistakes then hire a professional to do the job for you.
Whether you do-it-yourself or hire a pro, you can now have the confidence to make a more informed decision.


